Boox is the brand that e-reader enthusiasts tend to land on after they’ve pushed their Kindle or Kobo as far as it can go. However, one of the trickiest parts about making the transition to Boox is understanding all of the available customization options to dial in your experience just how you like it. Thankfully for you, we’re a bunch of e-reader nerds at Guilty Gamer, so we’ve curated a list of some of the best options to get the most out of your Boox.
Note: Boox currently has at least two different firmware versions in circulation, so your UI elements may not appear exactly as shown in our images. This article shows the 4.1 interface on the Boox Go 7 and Tab X C.
Adjust full refresh settings to bust ghosts
One of the biggest complaints about E Ink is the ghosting problem, the tendency for residual images to linger when scrolling or turning a page. If this is a big problem for you, the good news is that the fix is pretty easy.
If you want to increase the full-refresh frequency across all apps:
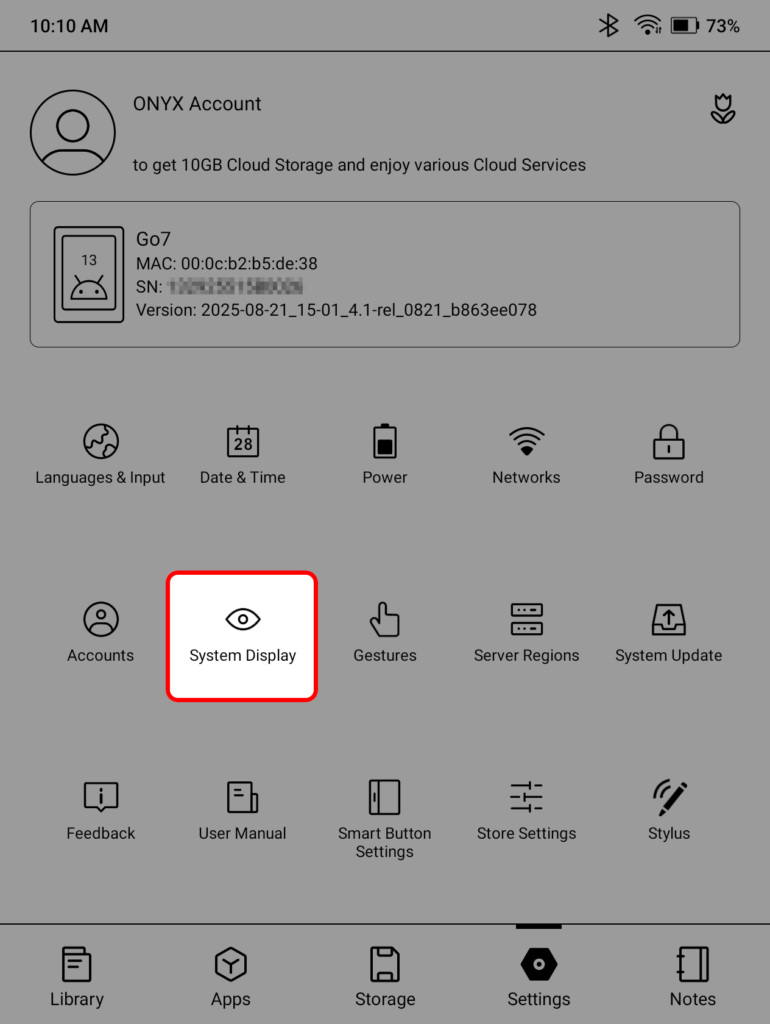
- Navigate to the Settings tab
- Tap System Display
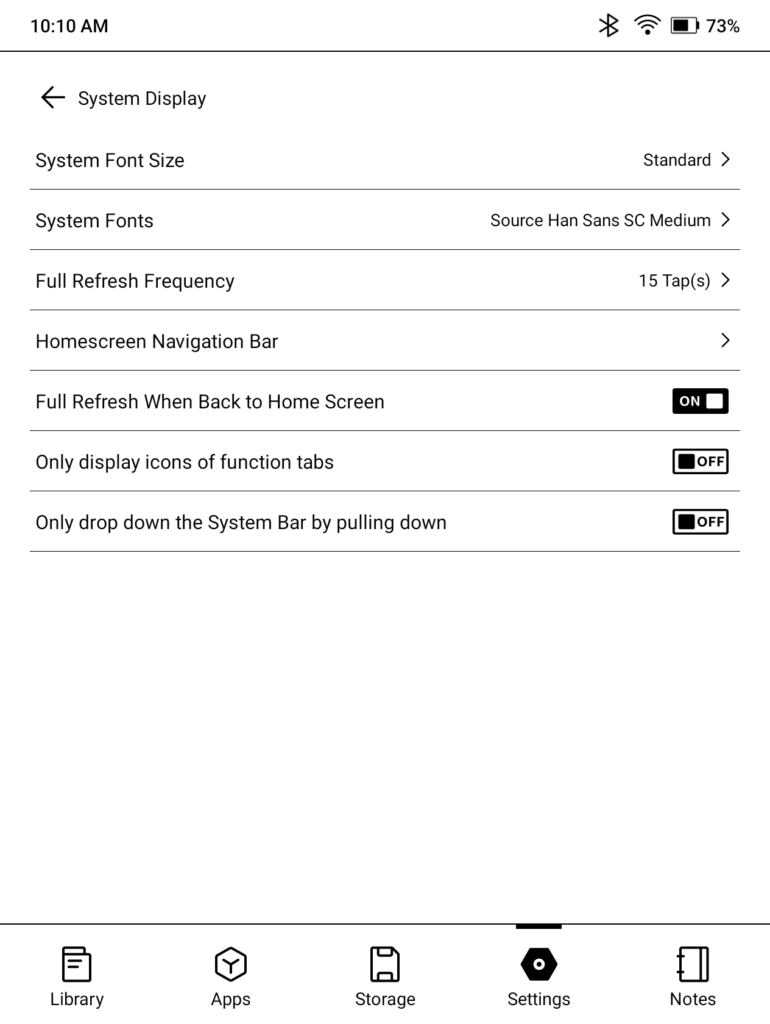
- Select Full Refresh Frequency
- Choose your full-refresh frequency
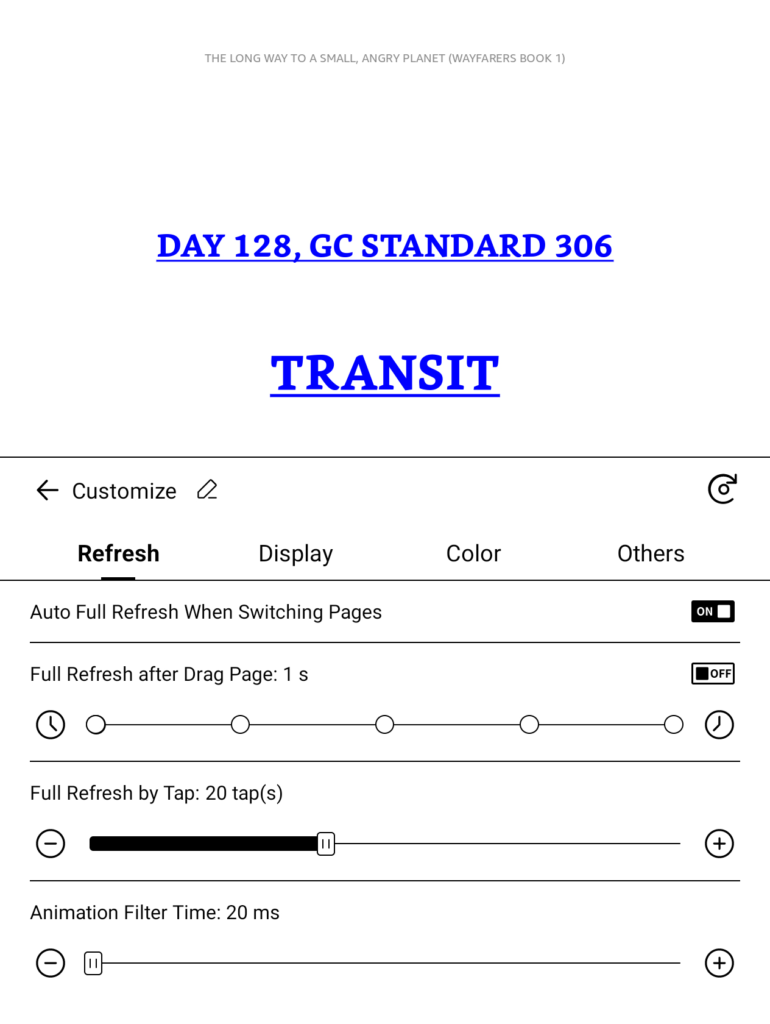
On the other hand, if you want to change it for a specific app
- Open the app to be customized
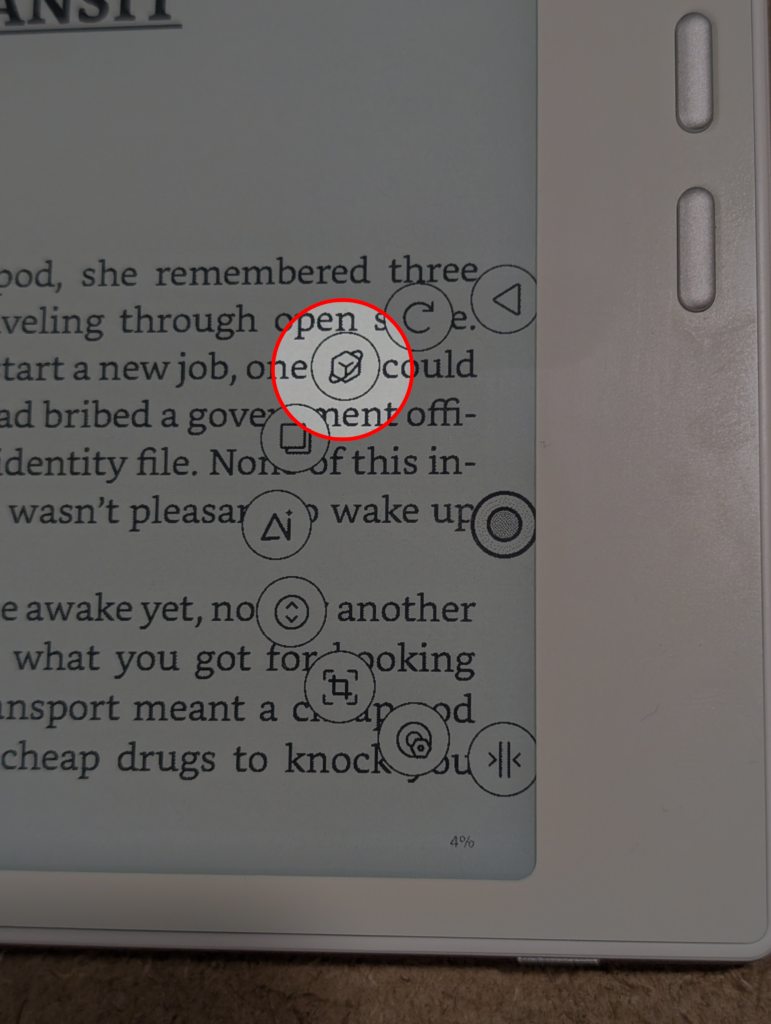
- Tap on the Navigation Ball
- Tap the App Customization icon
- Adjust the settings under the Refresh tab
I’m not too particular about ghosting, so I tend to leave things on their default settings. Matt, on the other hand, is like Luigi in that he will not abide ghosts of any sort, so his full-refresh settings are more aggressive than mine.
Master the NaviBall
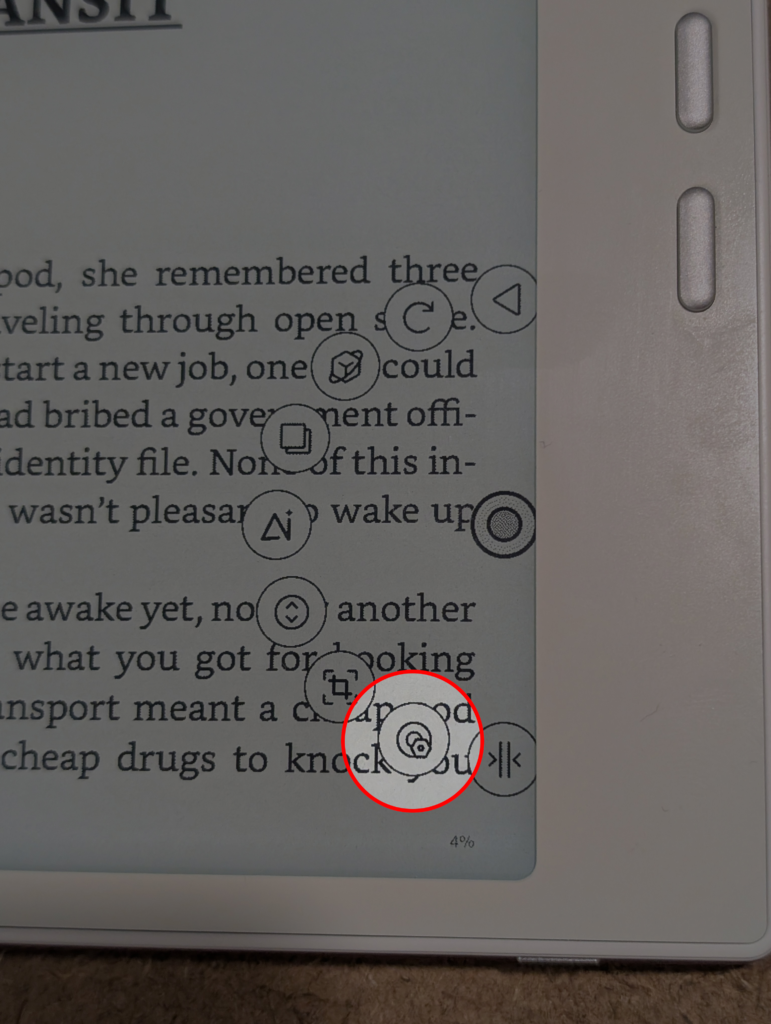
The Navigation Ball is one of the most iconic (and useful) elements in the Boox UI, but it takes some getting used to before you can take full advantage of it. The biggest problem with the NaviBall is that it gets in the way, particularly when reading, but there’s a way to partially collapse it when you don’t need it.
- Tap on the NaviBall
- Select the NaviBall Settings icon
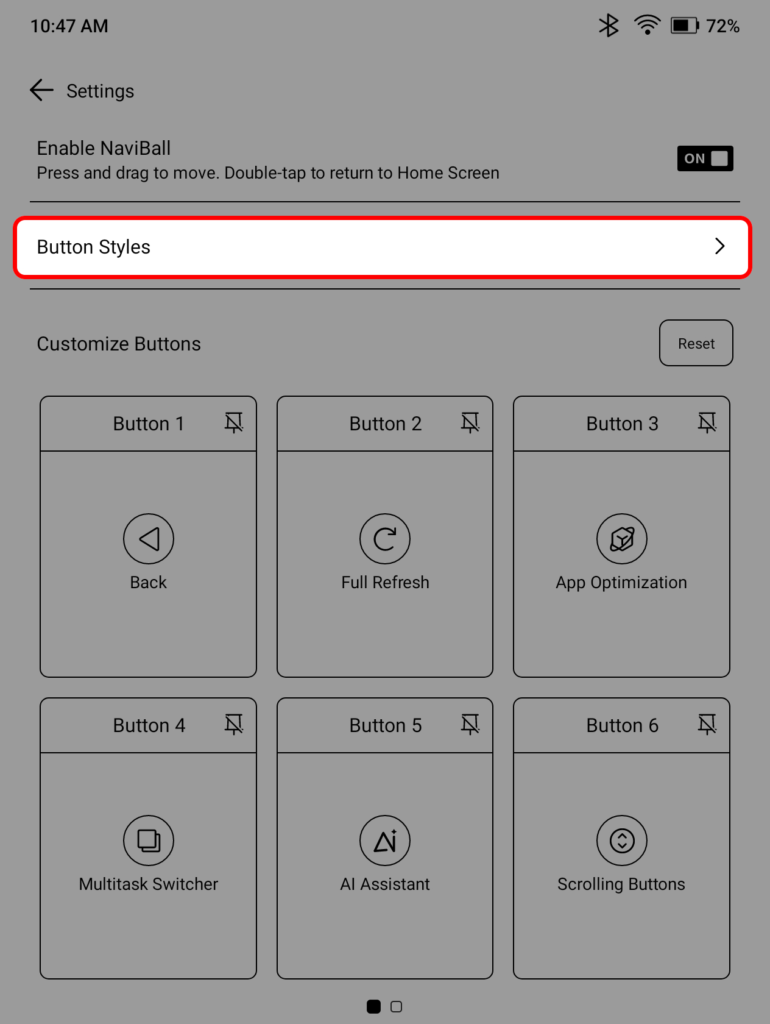
- Tap Button Styles
- Toggle one of the collapse options
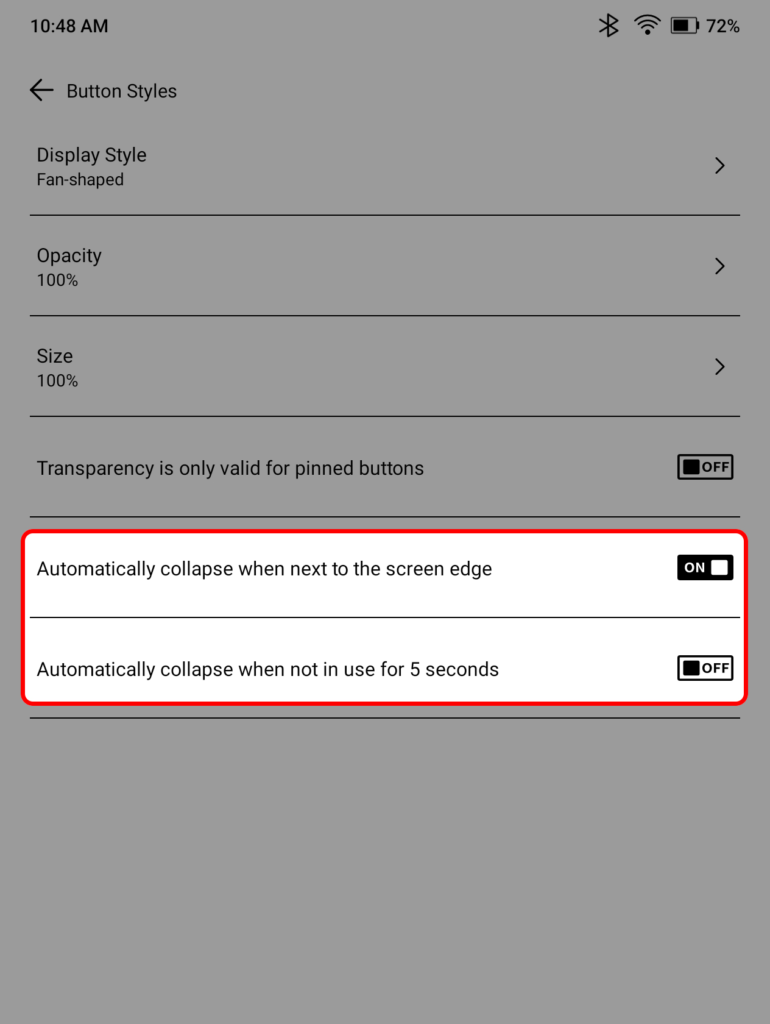
I like the option to have it automatically collapse when it’s next to the edge of the screen, keeping it out of the way until I need it.
It’s worth exploring these menus a bit, as there are numerous personalization options within the Boox UI you can experiment with. And, if you don’t like the NaviBall, you can always disable it. If you want it back, swipe down from the top-right of the screen and toggle the navigation ball back on in the Control Center.
Hint: You can long-press the NaviBall option in the Control Center to get back to the NaviBall Settings menu.
Get more done with Split Screen
One of the unsung benefits of owning a Boox device is the extra power under the hood. Nearly all of Boox’s modern E Ink tablets offer 4 GB of RAM, which means they have sufficient memory to run two apps at the same time comfortably. While not all Boox devices offer split view capability (weep for my poor Go 7), it seems that anything over seven inches does.
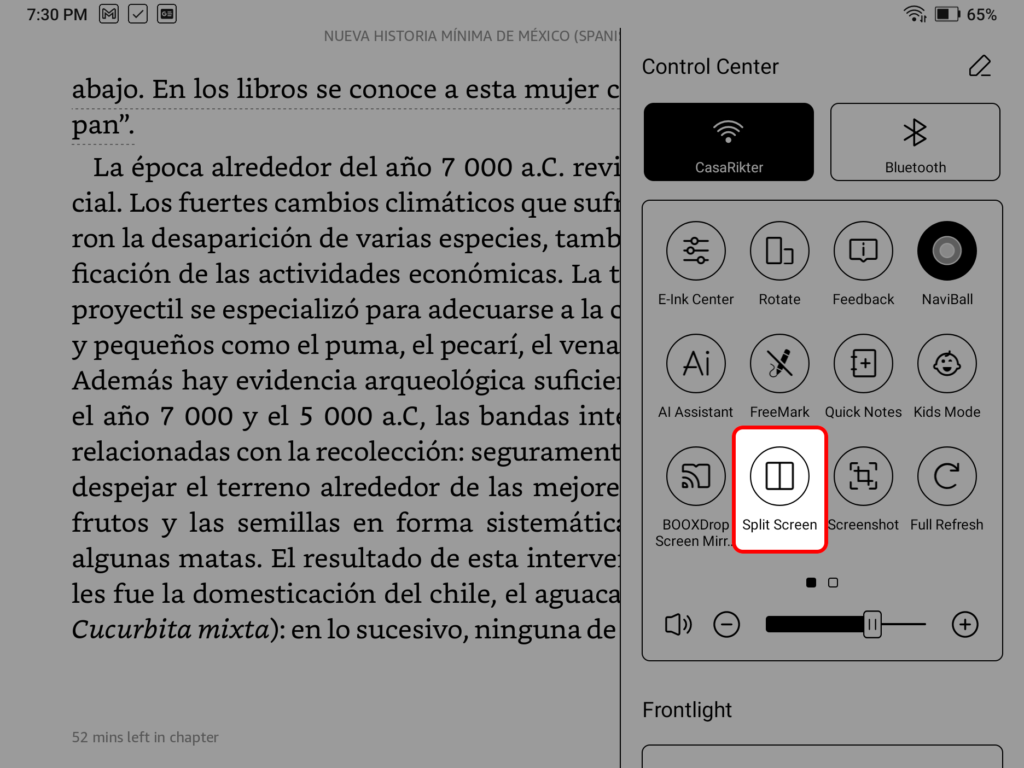
To use the Split Screen function
- Swipe down from the top-right to open the Control Center
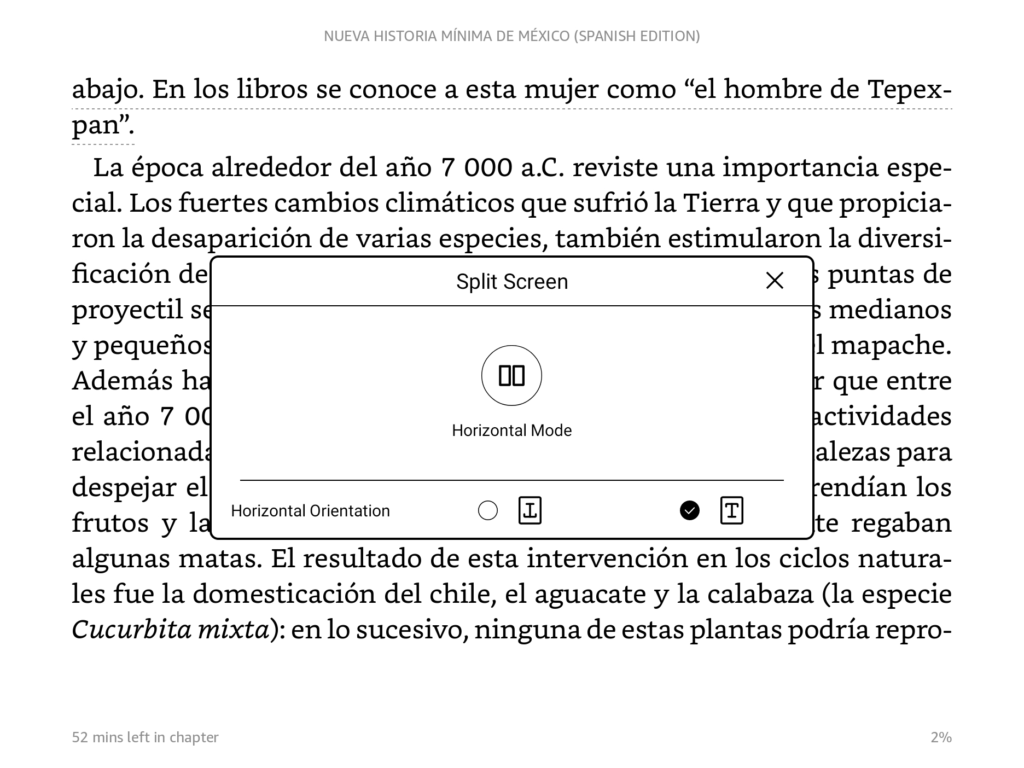
- Tap on Split Screen
- Choose whether you want to split the screen horizontally or vertically (you may not have a choice)
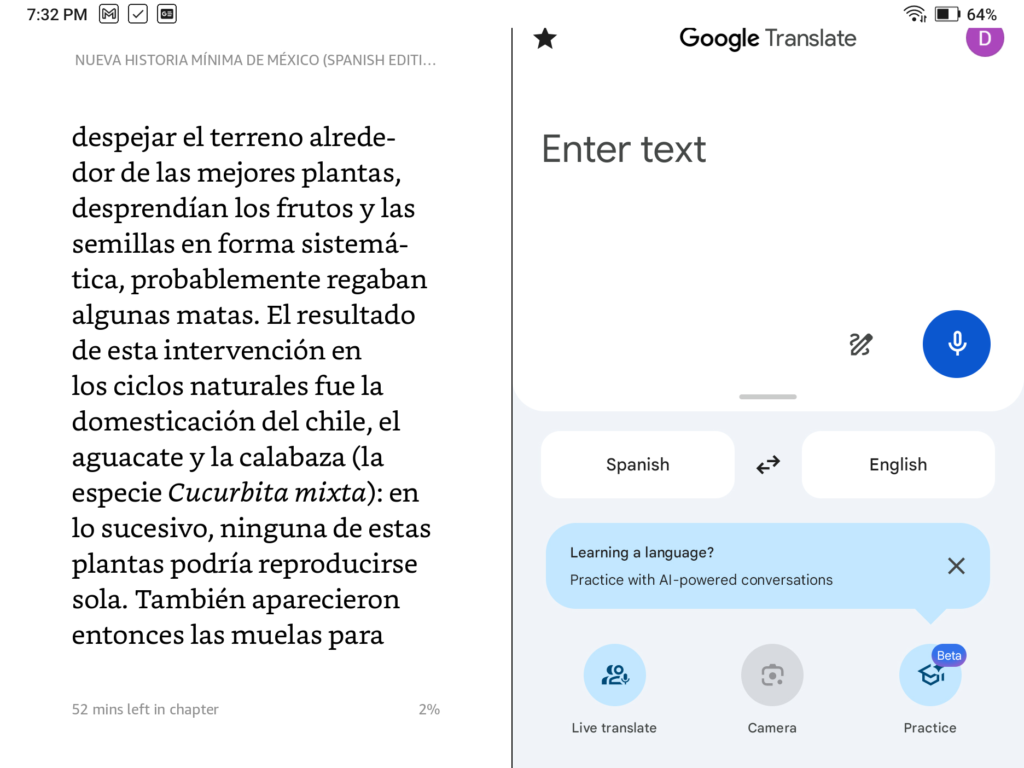
Once the screen has split, you’ll be able to pick another app to open from your app tab. This is a great tool for language learning, as it allows you to have a dictionary or Google Translate open while you’re reading. Split screen also comes in clutch for taking notes while you’re reading or watching a video.
Find your size by adjusting the DPI
Unless you’re Benjamin Button, you’re getting older, just like the rest of us, and that means you may need to adjust the size of what’s on your screen to read it more easily. Inside reading apps like NeoReader, Kindle, and Kobo, changing the font of your typeface is trivial, but most apps don’t have a native way to change their “zoom.” Thankfully, Boox does.
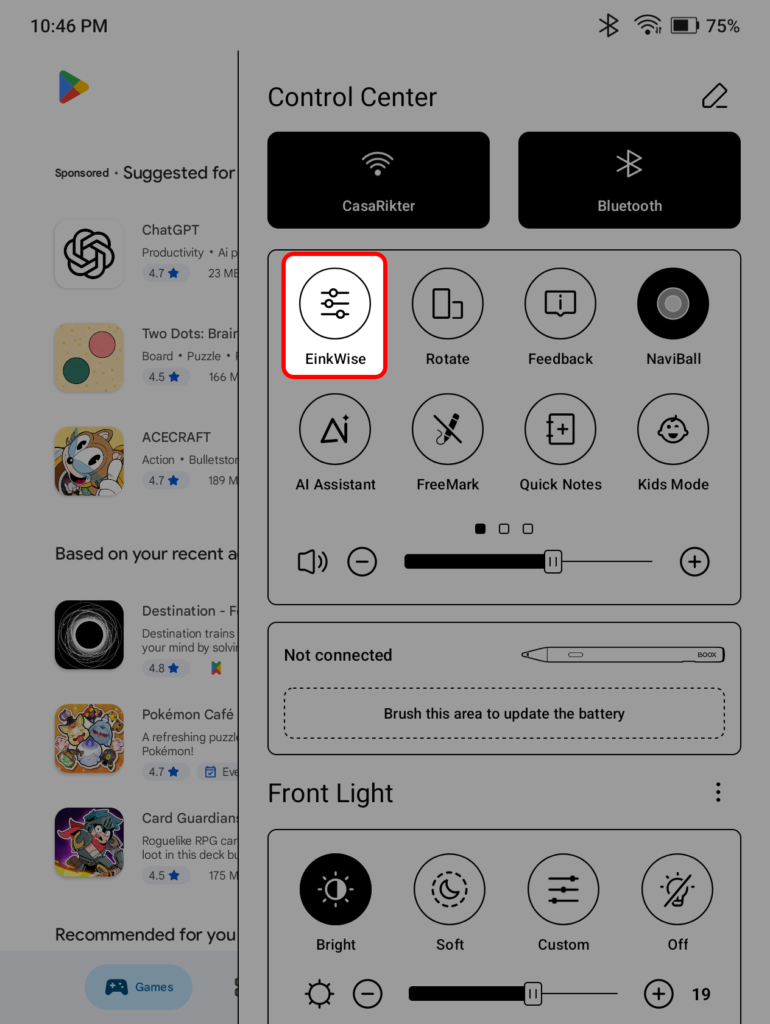
- Open the app you want to adjust the size of
- Open your Control Center by swiping down from the top-right of your screen
- Tap on the EinkWise icon
- In the Layout section, tap Custom
- Slide the DPI higher or lower to fit your needs
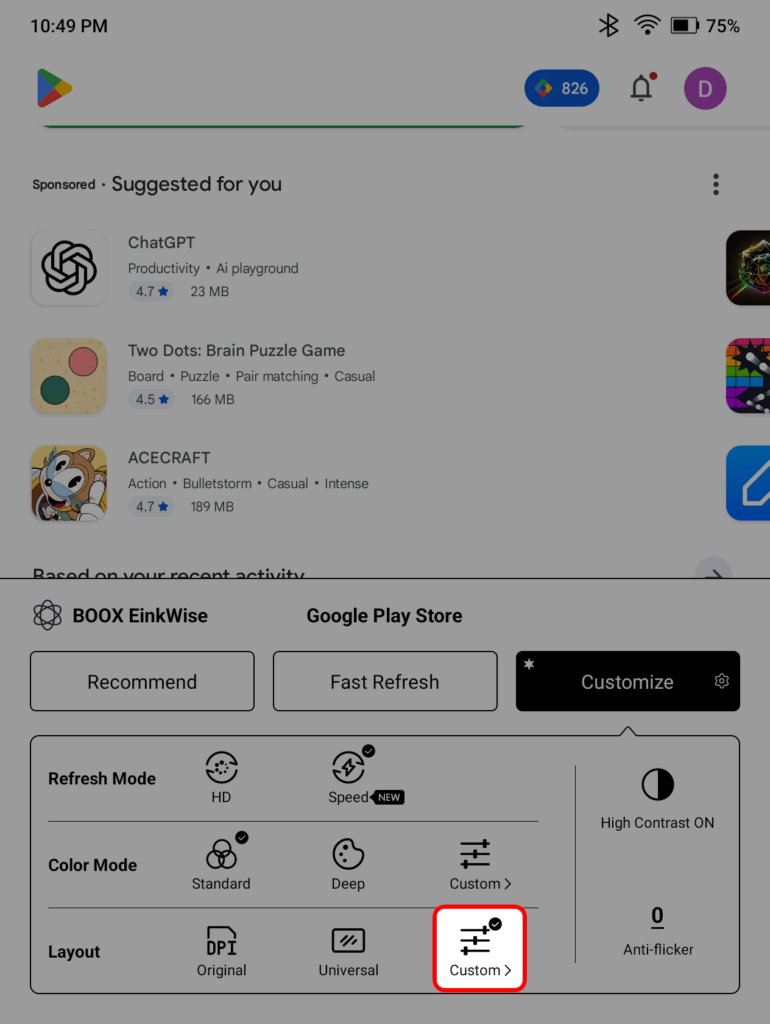


The higher the DPI, the more “zoomed” the app will be.
Note: On older firmware versions, this setting is in the App Customization menu, which can be accessed via the NaviBall.
Upgrade your dictionary game
Many casual e-reader users may not realize the value of having the right dictionary at their disposal. Boox’s default dictionaries aren’t bad, but there are better ones out there. Unfortunately, the process of installing one on your device can be a little obtuse.
First, you need to find a dictionary. There are plenty to be found online, and they usually have the DICT or MDX extension. A good place to start is FreeDict.com, but as always, Google is your friend.
Next, place the dictionary file in the /dicts directory of your Boox device in its own folder (the name doesn’t matter). If you have a Windows machine, this will be trivial since you can simply sideload it from your computer. However, if you have a Mac, you’ll need to use something like BooxDrop since the Mac file system is incompatible with the Android file system.
Finally, once you have your dictionary in its own directory within the /dicts folder of your Boox, you have to do a few more steps to use it while reading.
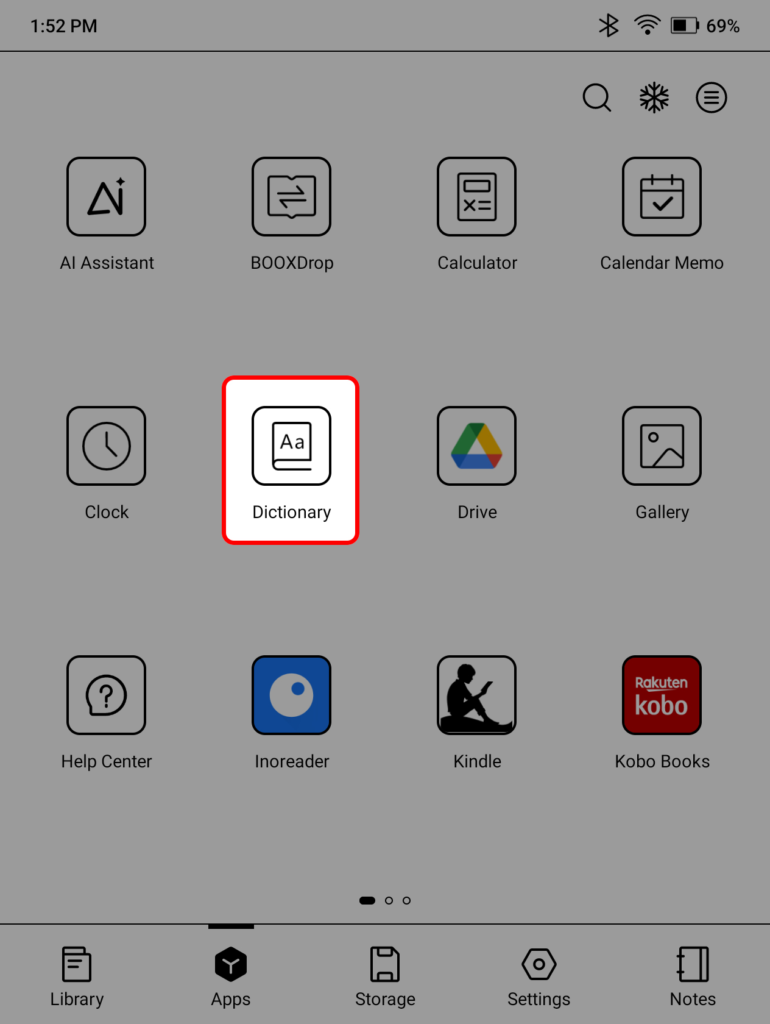
- From your home screen, navigate to the Apps tab
- Open the Dictionary app
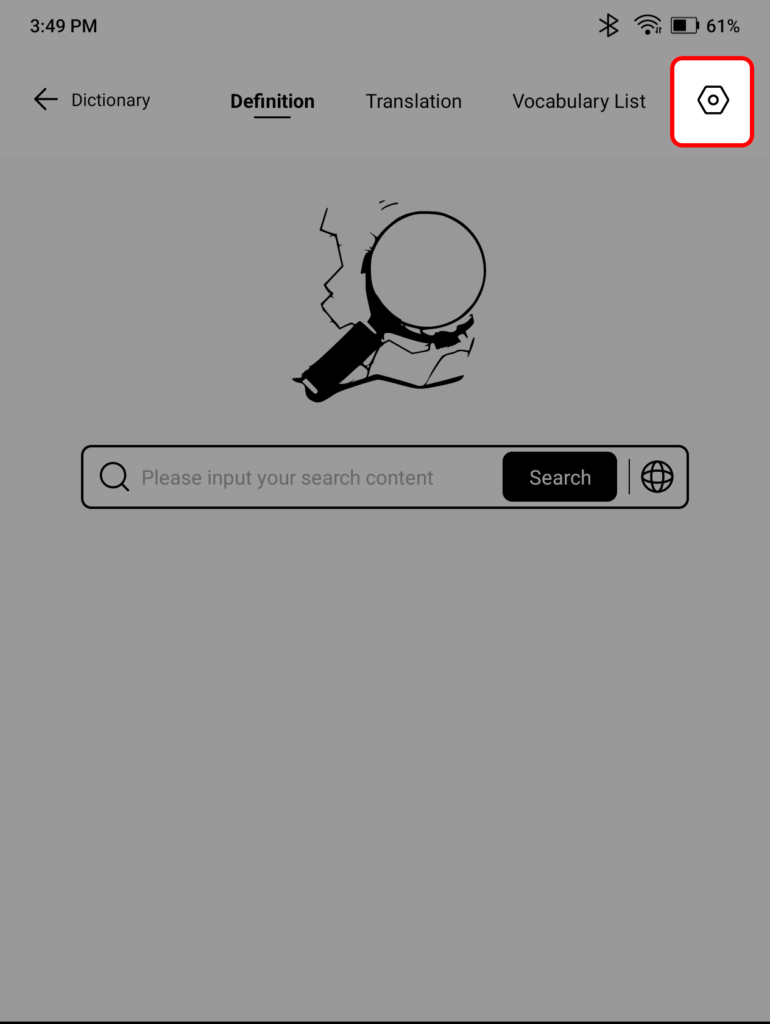
- Tap on the gear icon in the top right corner of the screen
- Select Preferred Dictionary
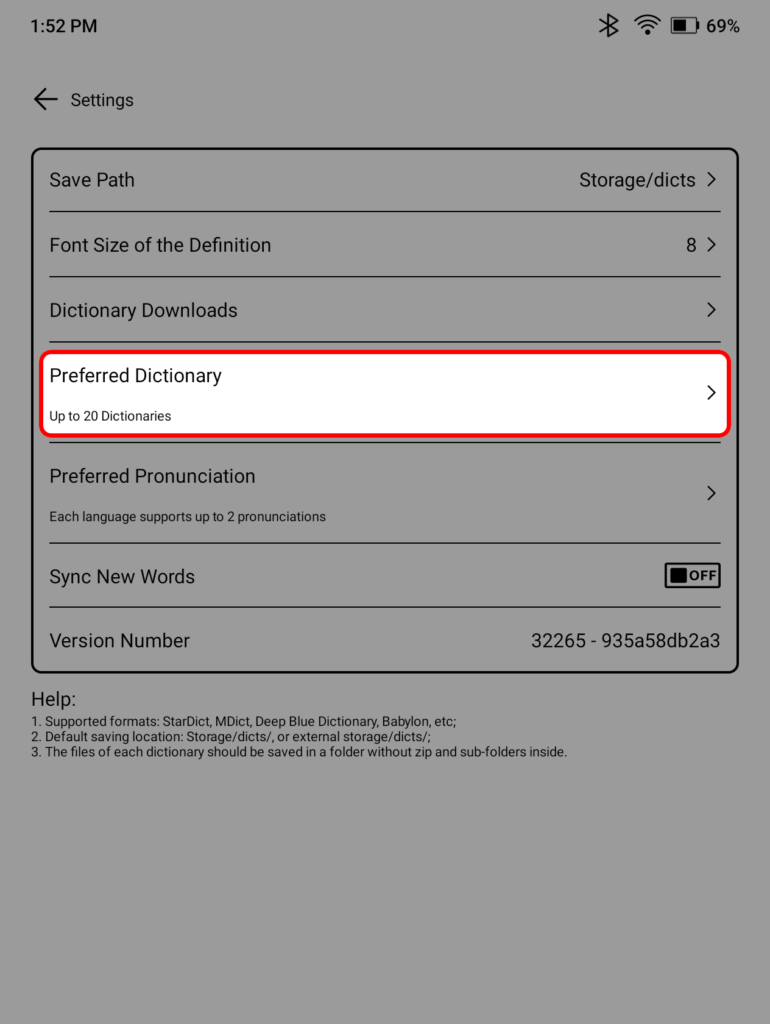
If you don’t see your dictionary listed, you probably have to restart the Dictionary app or restart your device.
Why a new dictionary? Technically, it doesn’t have to be a dictionary, and you don’t have to settle for just one. If you’re reading to improve your skills in a language, a bilingual dictionary is an invaluable tool. Likewise, you can also install a frequency dictionary to help you understand how often a word is used. You can even install a thesaurus.
Change up your screen saver and power-off screen
Your e-reader isn’t really yours until you throw up a personalized screen saver or power-off screen. Unlike Kindle and Kobo, there’s currently no way to set your screen saver to be the cover of the book you’re currently reading (although Boox says it’s working on it), but if you’re willing to jump through a few hoops, there’s still a way to sort of pull it off: Take a screenshot of the book cover. This isn’t ideal, but it’s the best workaround there is at the moment.
Once you’ve got your screenshot (or any other image you want to use, for that matter), setting it is relatively easy, if a little hidden.
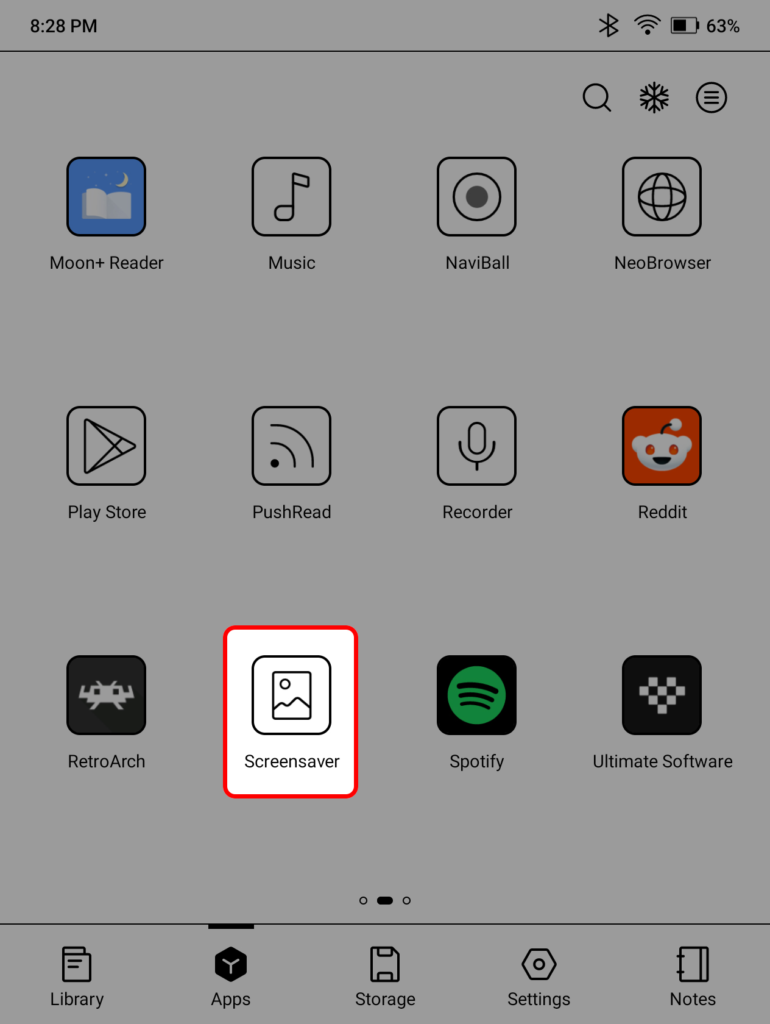
- From your home screen, go to your Apps tab
- Select the Screensaver app
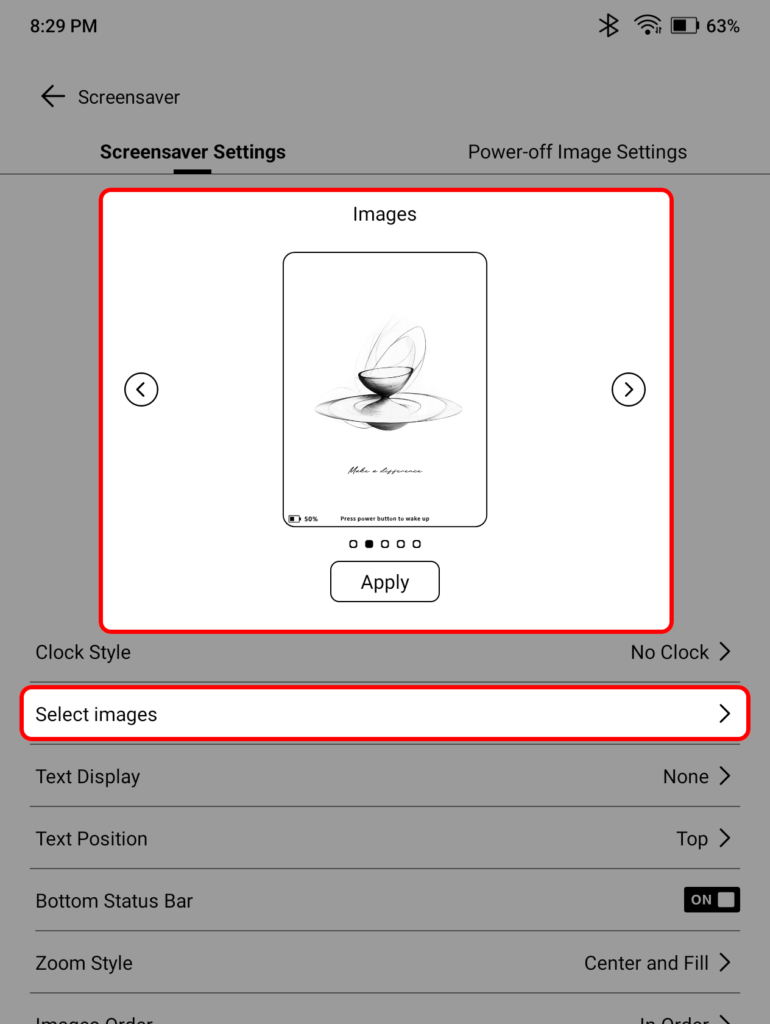
- To set an image as your screen saver
- From the Screensaver Settings tab, select Images from the carousel
- From the menu beneath the carousel, tap Select Images
- Find and select the image you want to use
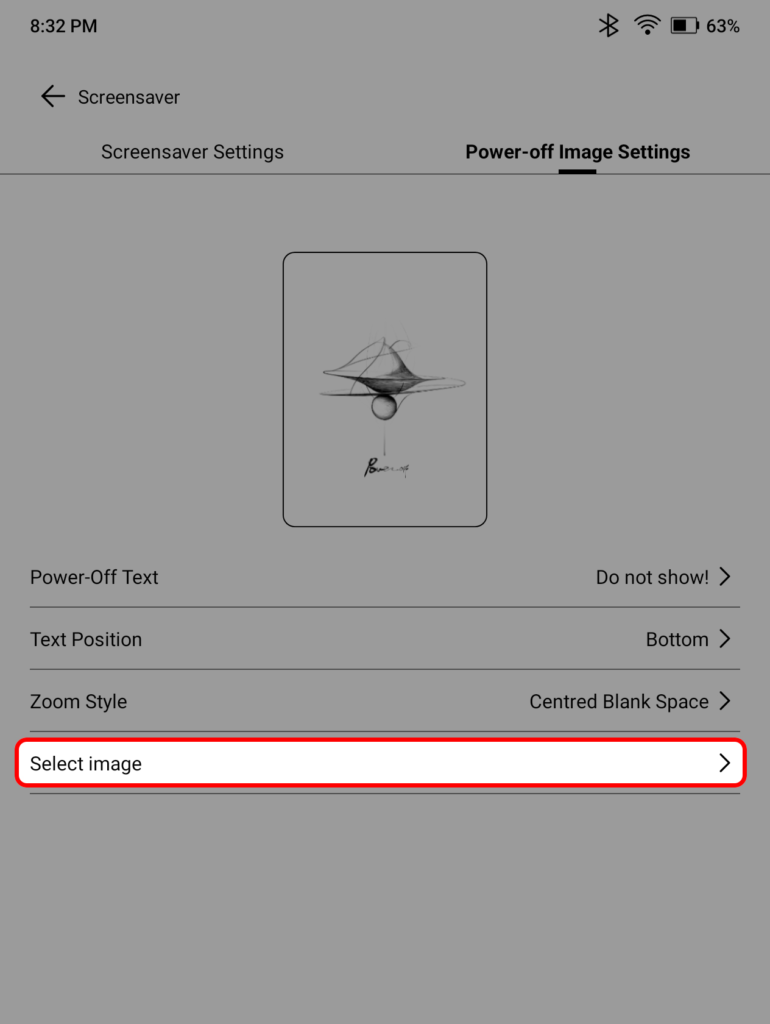
- To set an image as your power-off screen
- From the Power-off Image Settings tab, tap Select Image
- Find and select the image you want to use
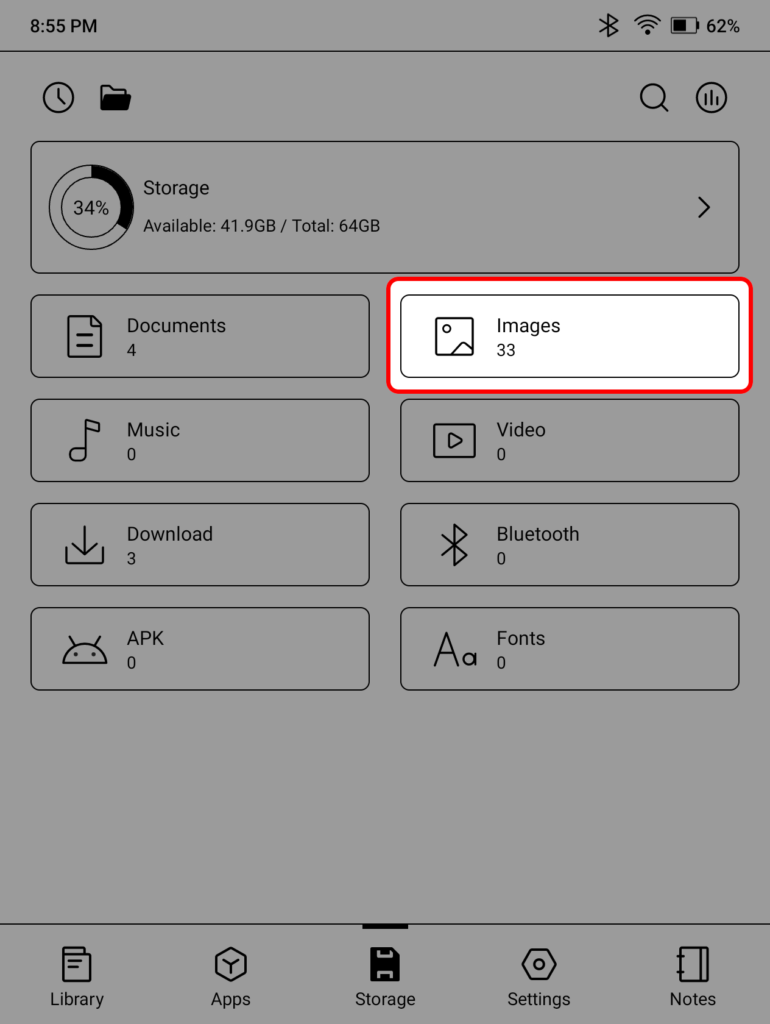
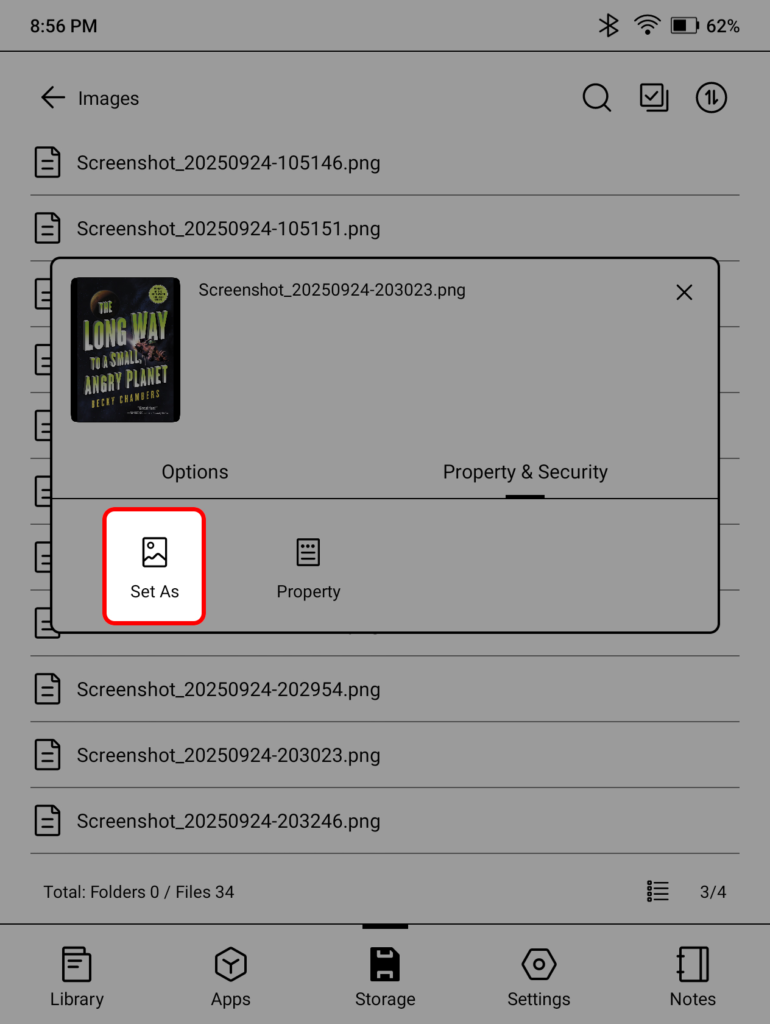
Alternatively, you can set any image to your screen saver or power-off screen from the Storage tab.
- From the home screen, go to the Storage tab
- Select Images
- Find and long-press the image you want to use
- Go to the Property & Security tab
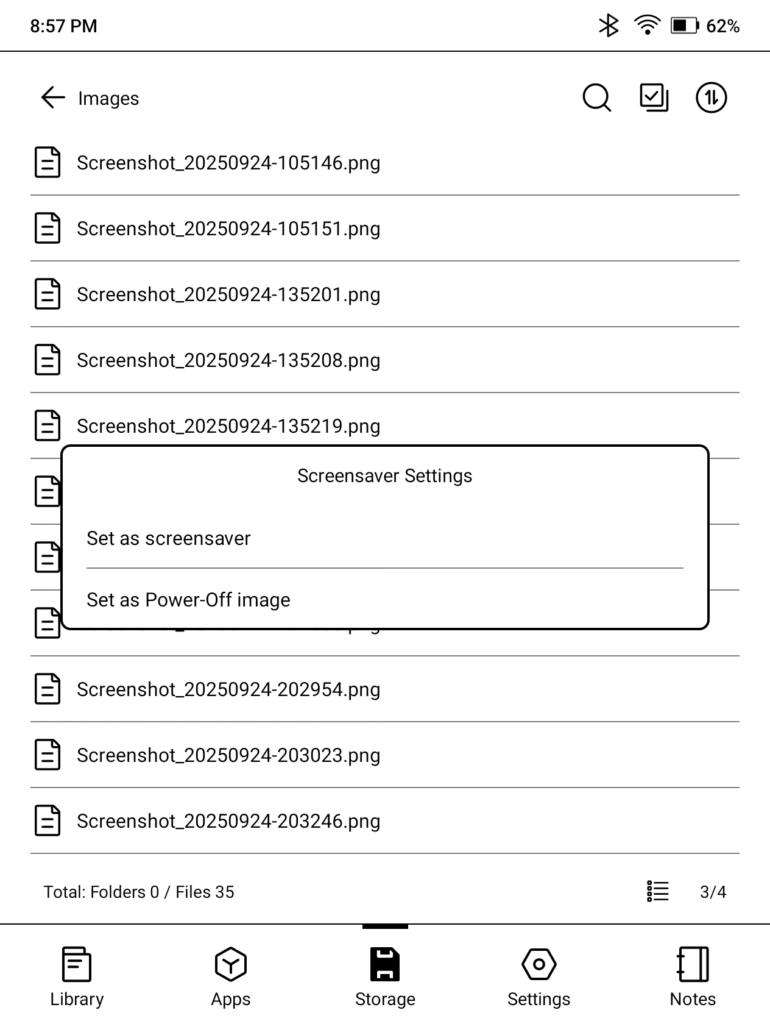
- Tap Set As
- Choose whether to set it as your screen saver or power-off image
Play around in some of these menus because you can do a lot more than just images, particularly for your screen saver.
Unleash the power of your Boox
I had to stop myself here because there are just so many cool customization options hidden within your Boox that you might not be aware of. Hopefully, this mini-tour of the Boox settings has pointed you in the direction of a few more settings you can tweak to get your device perfectly dialed in. Stay tuned for more tips in the future.