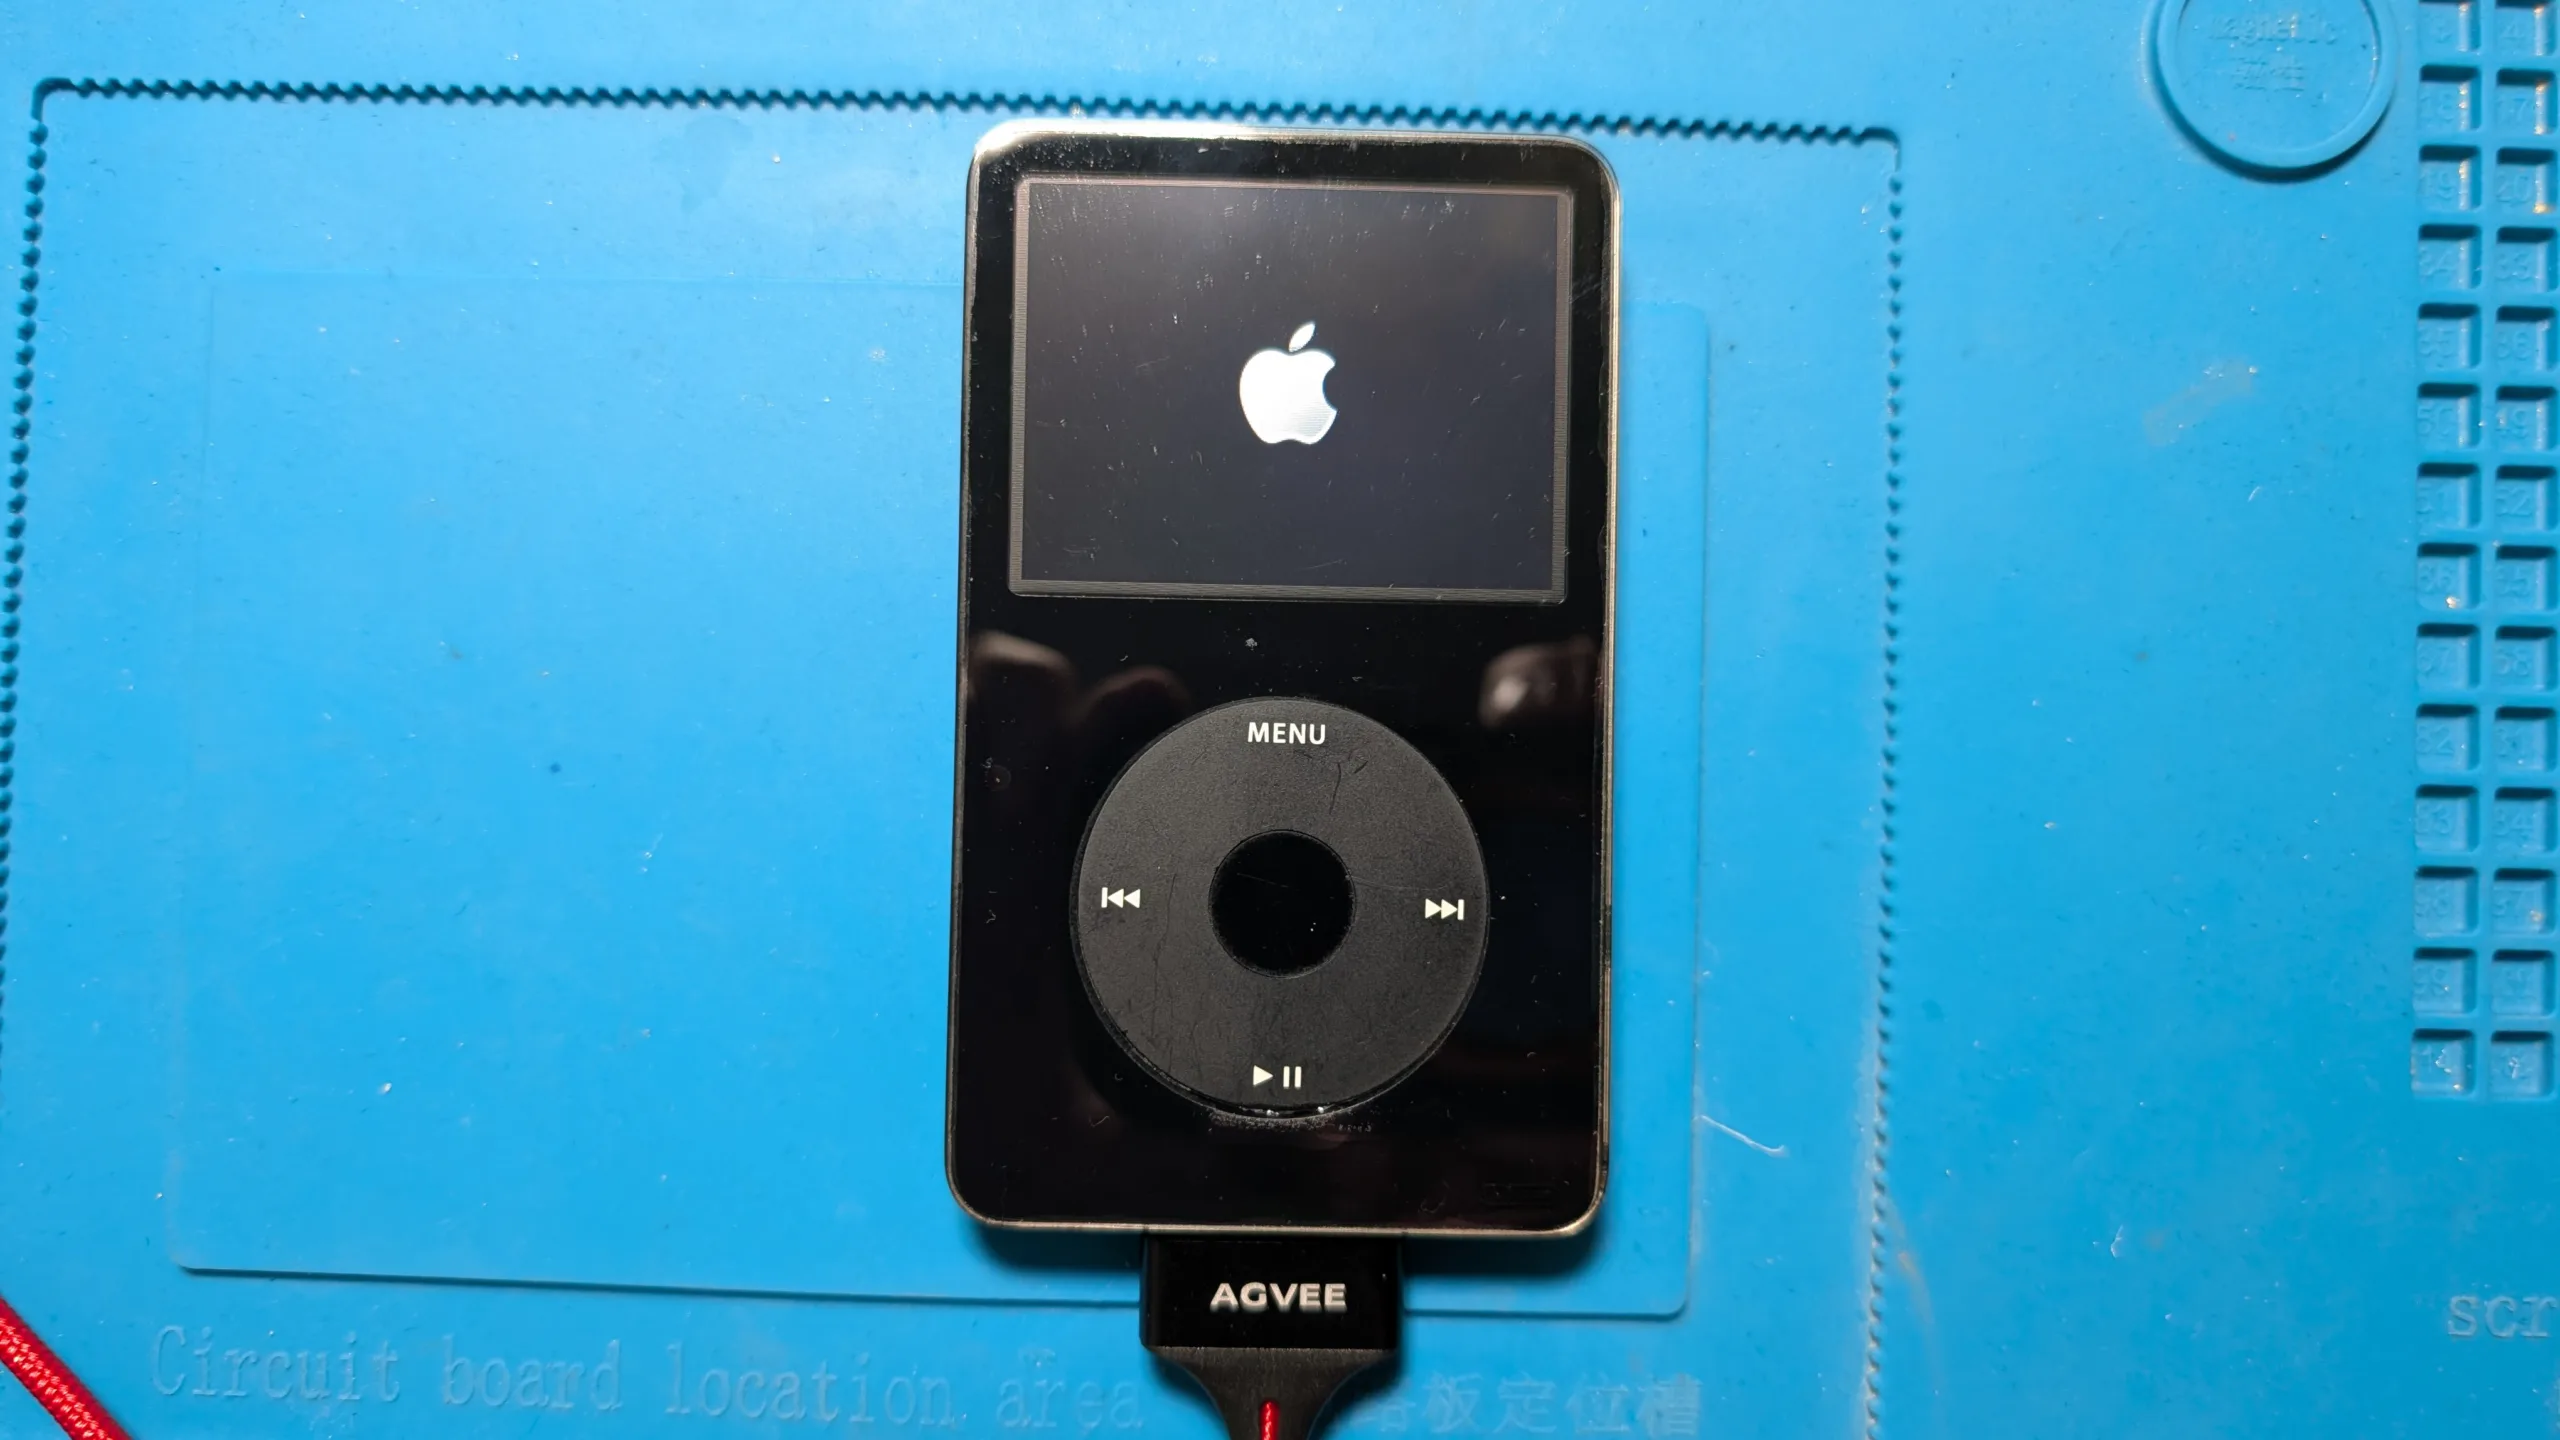

I recently moved houses, and I’m going through a lot of boxes, rediscovering old stuff. A lot of the things I uncover I’m trying to get rid of by either selling, giving it away, or just trashing it. But during that process, I came across an old 5th-generation iPod, and while researching its resale value, discovered it was a sought-after 5.5 Gen model with the coveted Wolfson DAC.
Now, I’m not an audiophile, and after 47 years I can’t really hear the difference between high-end gear and the regular stuff, but something about this iPod’s particular make moved me to bring it back to life. Digging into my options, it turned out the iPod modding community is very vibrant, and resuscitating one of these 20-year-old devices was entirely doable with just some basic tools and parts.
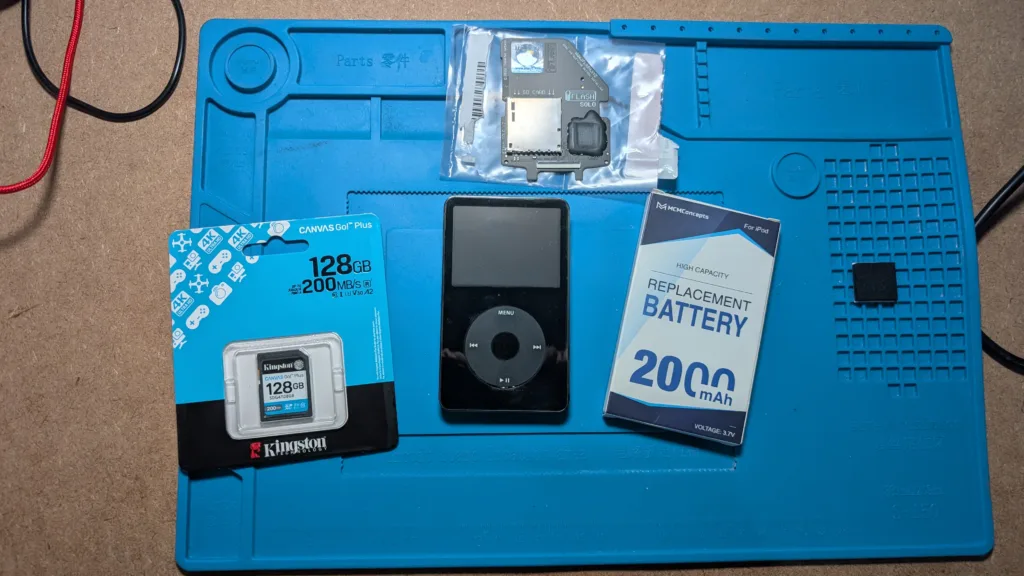
Planning out my iPod glow-up
The first thing I wanted to figure out a workaround for was the Apple ecosystem, because I didn’t want any part of it. Originally, you had to have iTunes in order to use the iPod Video. Today, there are a few alternatives that will sync music to your device, but I prefer to just drag and drop my media into my DAP without needing to rely on specialized software to get it done. The only way to do that is to install a whole-ass new firmware on the iPod, and the only one of note is Rockbox and its forks.
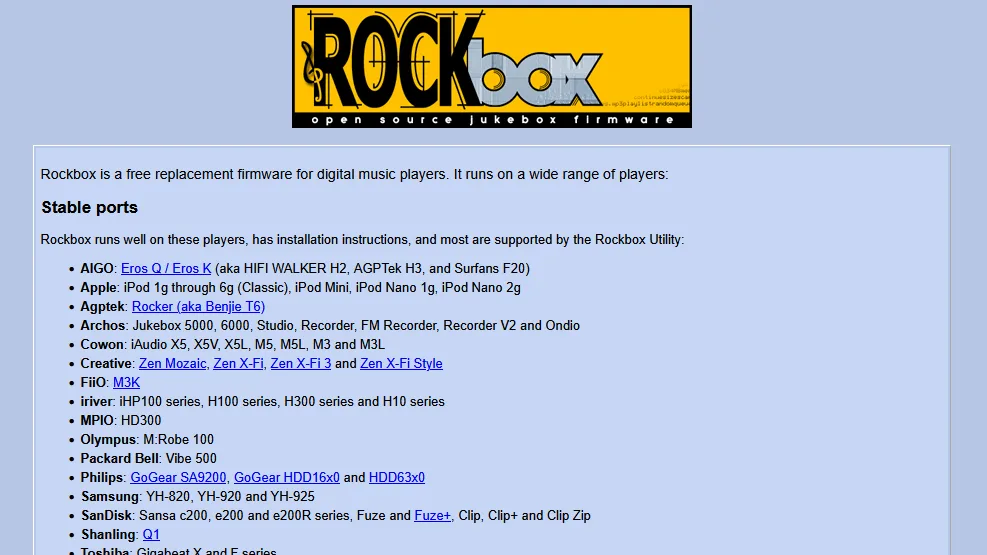
Screenshot from Rockbox
My next problem was replacing the battery. After 20 years, almost all lithium-ion batteries turn into spicy pillows just waiting to cause trouble, and mine was no exception. My particular model came with a 450 mAh battery, which is good for about a dozen hours of life, and while I could have ordered a drop-in replacement, I opted instead to upgrade to 2,000 mAh.
Finally, 30 GB of data was a lot in 2006, but not so much in 2026. Fortunately, there’s a dead-simple solution available in the iFlash, an aftermarket PCB with a slot for a full-sized SD card and an iPod-compatible ribbon-cable connection. It’s made to fit perfectly inside the chassis with a much smaller footprint than the original disk-based hard drive it shipped with.
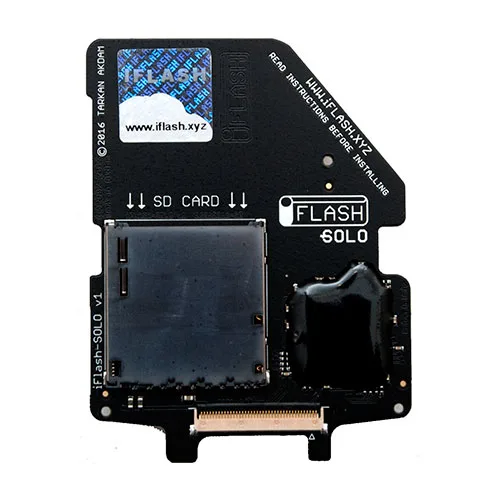
iFlash Solo
Replacing the iPod Video hardware
This was the most intimidating part of the project. To start, Apple doesn’t like people mucking about with its hardware; to that end, it deliberately makes it a bit tricky to get into its devices. The iPod Video wasn’t too difficult, but it was fiddly. In fact, “fiddly” aptly sums up installing all of the hardware upgrades for this project.
The 5th Generation iPod has about a dozen clips that keep the front attached to the back, and opening it up too aggressively can cause them or the frame to bend or break. Luckily, I have a bunch of spudgers, and after some careful pushing and prying, I had the faceplate off without bending or breaking anything.
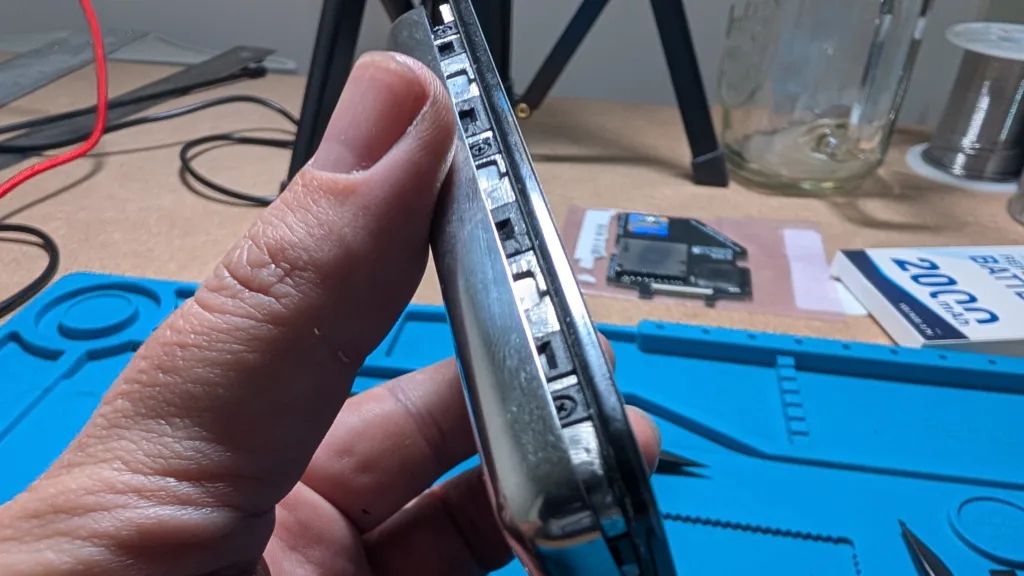
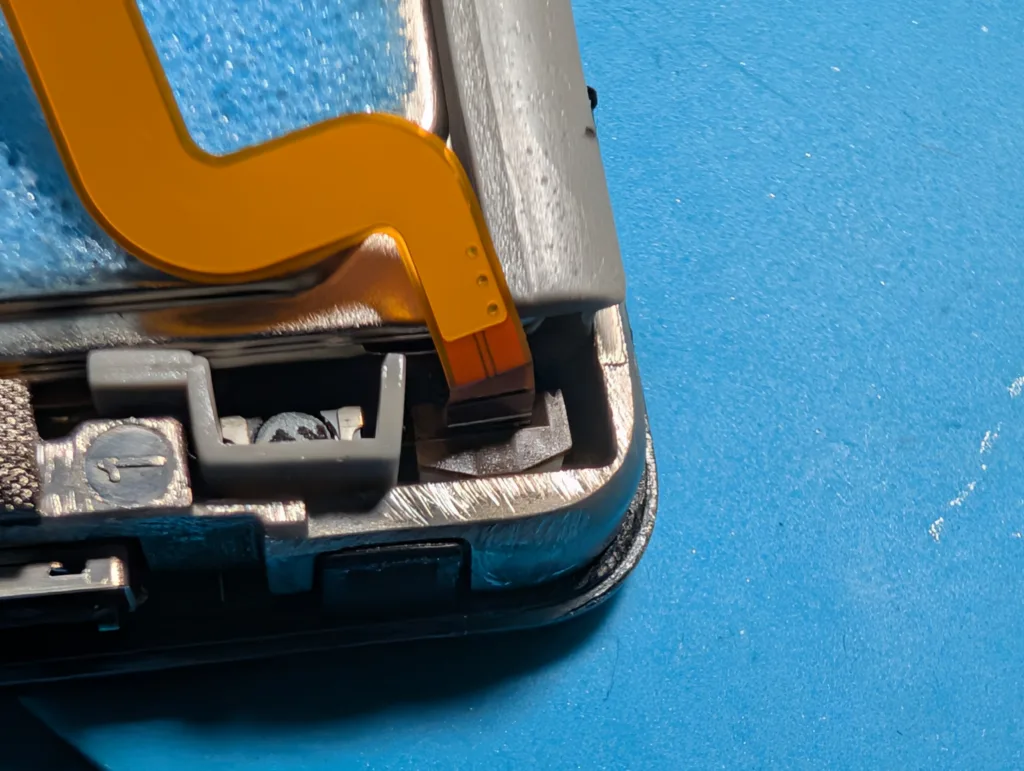
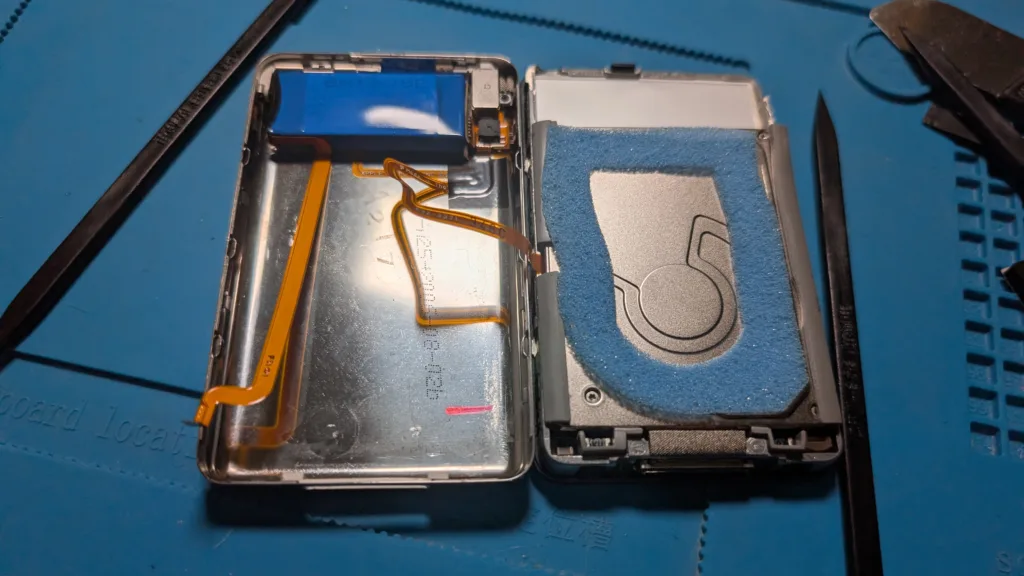
Next up, you need to remove the battery ribbon cable. It’s in one of the bottom corners and is secured by a small plastic latch. It can be tricky to figure out how to manipulate these fragile fasteners without breaking them, so if you’re undertaking this project, just know it lifts straight up. With the battery disconnected, you can lay the front and back side by side. Just be careful because the headphone jack’s ribbon cable is still attached to the main board under the hard drive.
Installing the iFlash Single
At this point, you can take your pick whether to replace the battery or hard drive. I went with the hard drive. Unfold the drive out from the front faceplate, laying it flat while being careful of the ribbon cable still holding it to the board. Getting this off the drive was pretty simple once I figured out the latch rotated from the back towards the front.
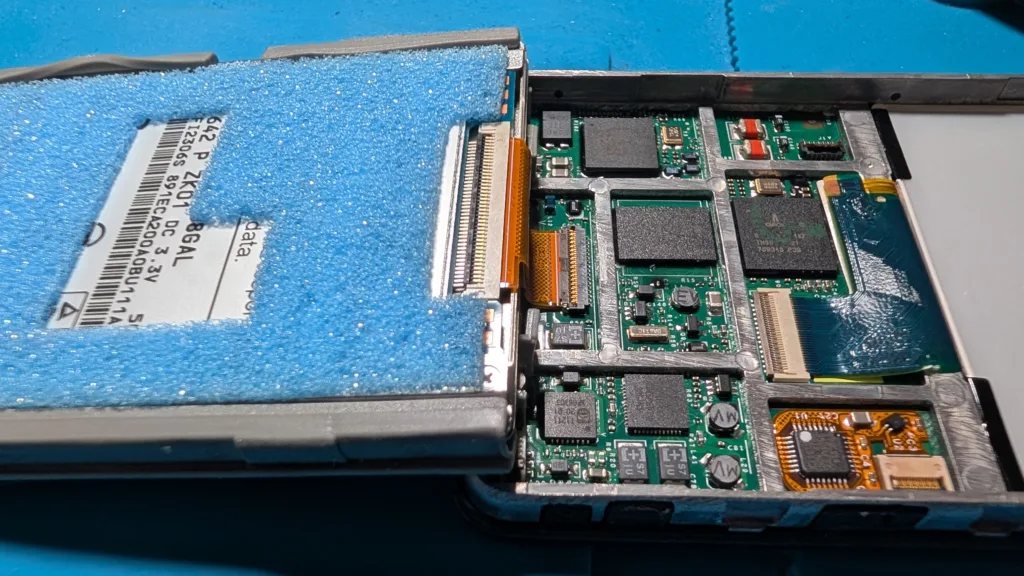
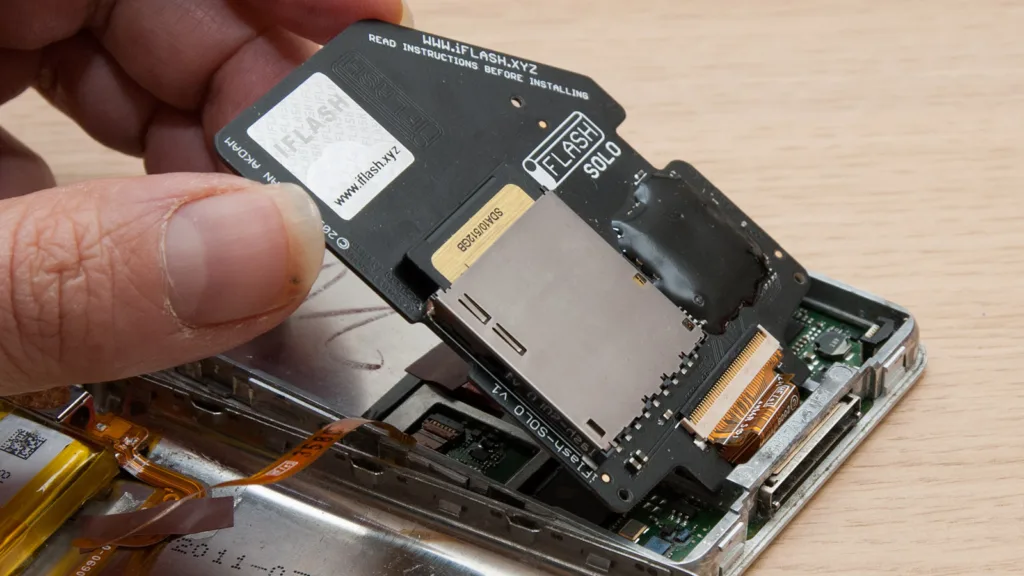
Inside the iPod, and how the iFlash is inserted (via iFlash)
One of the trickiest parts of the project is attaching the ribbon cable back to the iFlash and getting it seated properly on the board. I ended up gently prodding it into the port with the pointy end of one of my spudgers. If you don’t get this part right, your iPod won’t be able to start back up. Oh, and don’t forget to put the SD card in there before you close up the case.
Upgrading the battery
Swapping the battery is more of the same fiddly business. The tricky part here is removing the old battery, which is held in place by some double-sided tape. Luckily for me, my tape was around 20 years old, so some gentle prying freed it from its nook inside the frame. Just be careful because the ribbon cable for the lock toggle is under there, and you don’t want to damage it while brute-forcing your battery out of the iPod.
Once I had the old battery out, I ended up connecting the ribbon cable before I positioned the new battery in its place in the chassis. If you try to place the battery first, inserting the ribbon cable into its port is much more fiddly since you’ll be contending with both the front and back of your iPod while trying to manage the ribbon cable. With that done, I didn’t close it up just yet because I wanted to make sure everything started up and I wouldn’t have to fix something I had installed wonky.
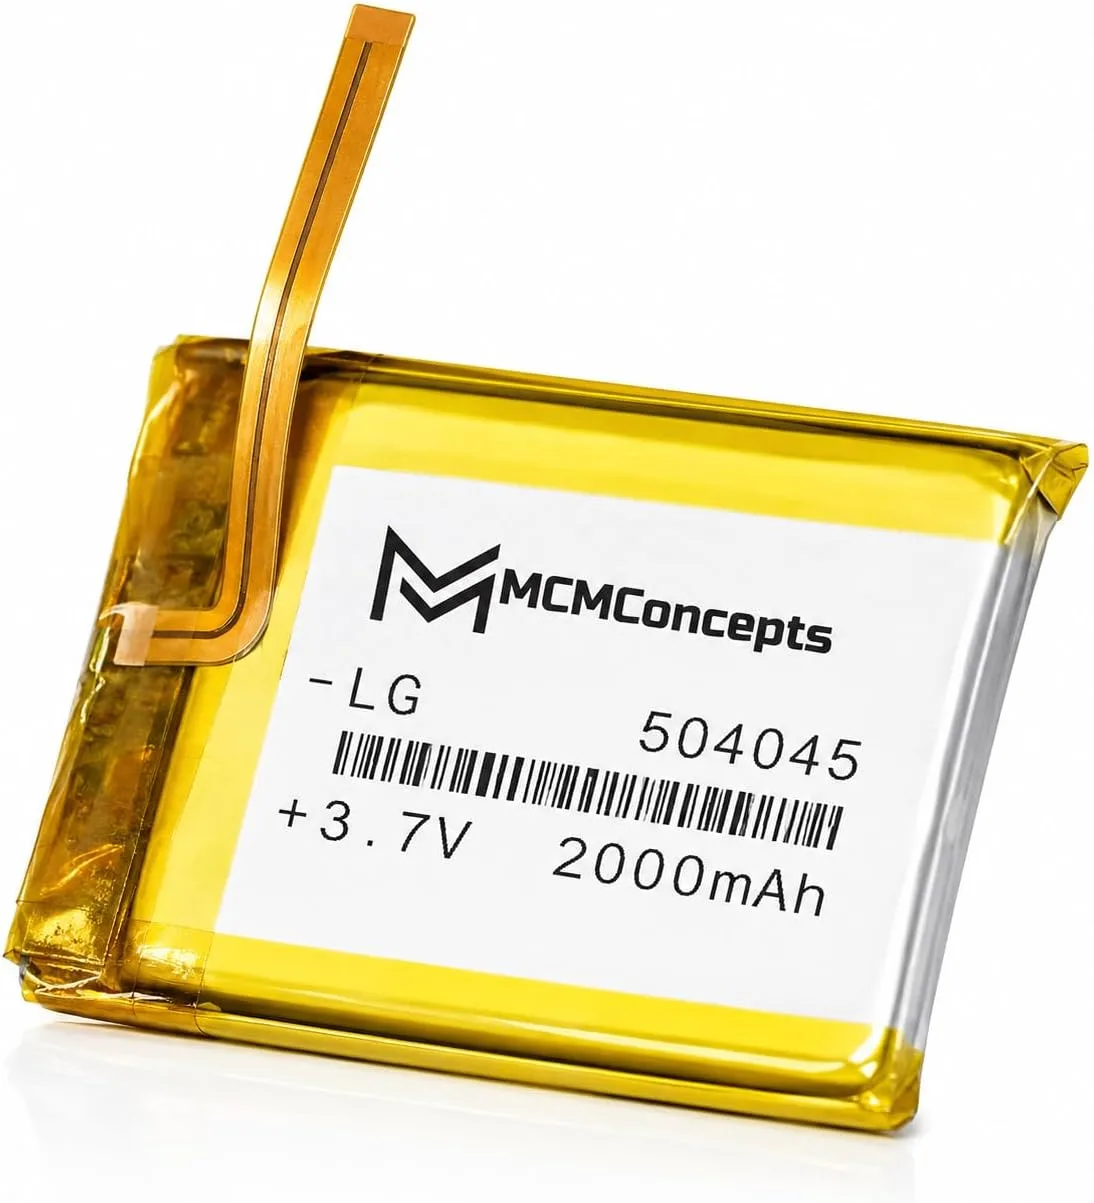
2,000 mAh MCMConcepts battery
Rockbox on the iPod Video
Before you install Rockbox on your upgraded iPod, you need to get your device back into working order. The OS for the iPod Video is stored on its hard drive. Since I just replaced the drive, I needed to reinstall the iPod’s OS before I could do anything else. To do that, you need iTunes. You don’t need an Apple account or anything, but you will need iTunes to reinstall the OS. Just start iTunes, then connect your iPod and follow the prompts.
Once the original OS is back in place, you can install Rockbox. There’s nothing fancy about this: Get the Rockbox installer, connect your iPod, point the installer to whatever drive your iPod is assigned, then click Install.
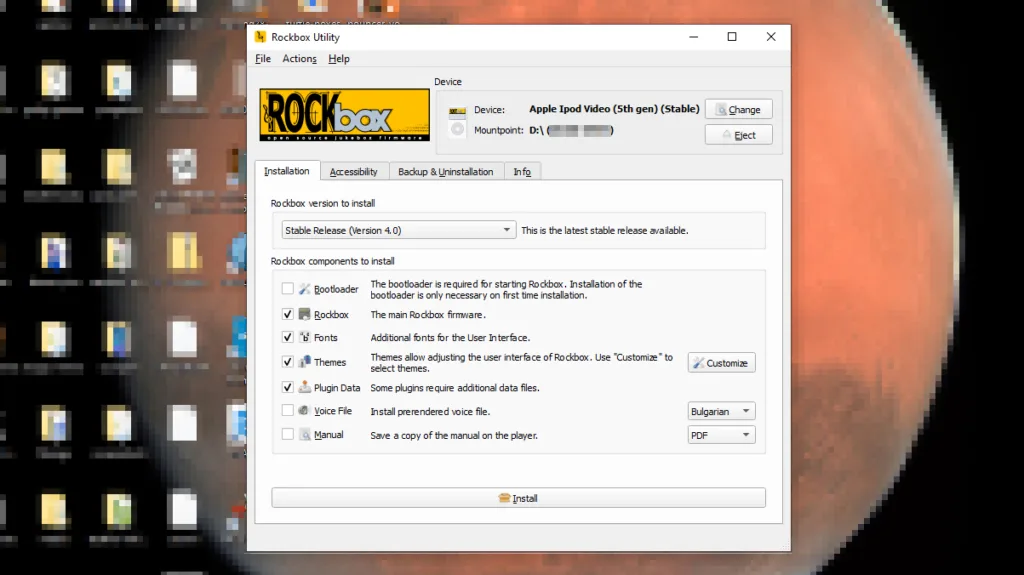
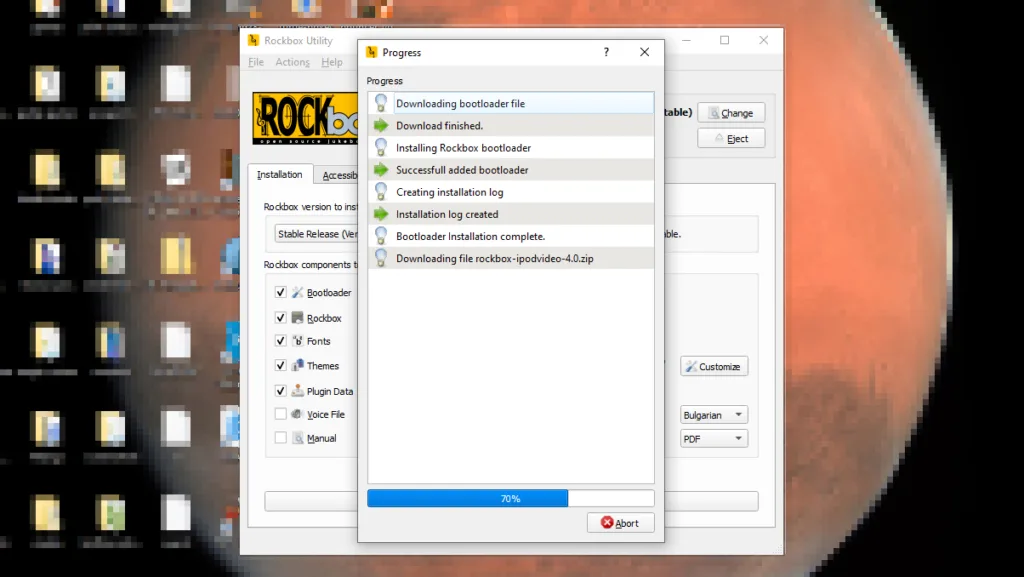
Once that’s run its course, reboot your iPod by holding down the Menu and Select buttons for about eight seconds. When it comes back online, you should be looking at Rockbox OS instead of iPod OS. Is Rockbox “better” than iPod? Not really, but it does untether me from iTunes, and it has a ton of custom themes, which makes me happy in the same way Winamp used to whip the lammas ass.
What is the point of all this?
The reason I went to all this trouble is because I’ve wanted a DAP for a couple of years now, and this one just fell into my lap. Don’t get me wrong, my Pixel 9 is fine at streaming music, but it doesn’t have a headphone port. Worse, my car doesn’t have Bluetooth, so playing music on the road is a pain in the ass. Plus, the iPod sounds good. I’m not really a FLAC guy, but it’s nice to be able to load them up and enjoy my favorite tunes with an extra bit of clarity.
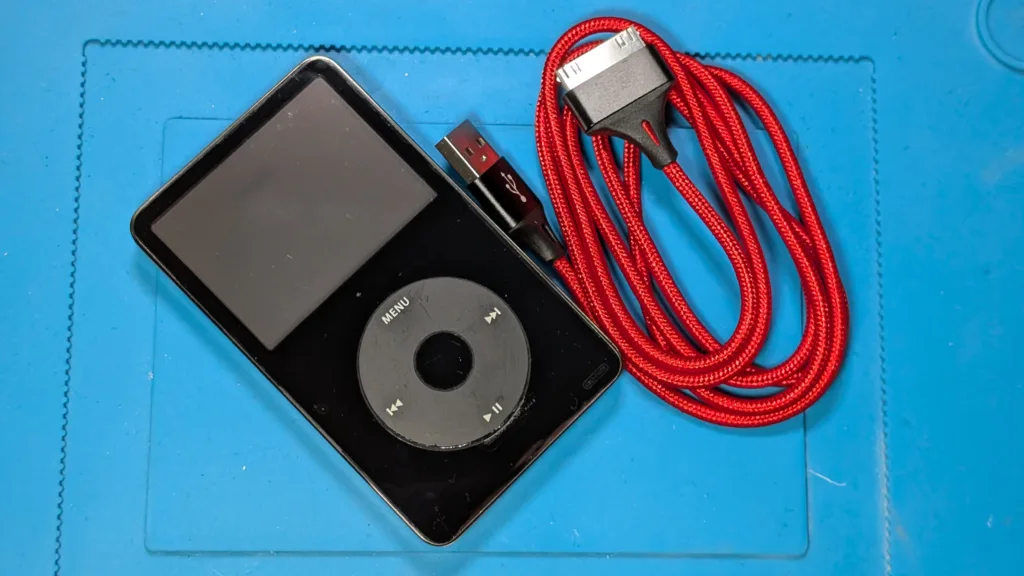
These are all fine reasons, but ultimately, I did all this because I want more simplicity and intentionality in my life. The 5th Gen iPod does one thing really well, and that’s play music. It doesn’t connect to the internet, it doesn’t send me notifications, and it doesn’t come with bloatware (it does play video, but it’s more trouble than it’s worth). And it doesn’t have anything on it that I don’t put there myself. Any music on my iPod is there because I took the time to put it there, not Spotify, not Apple, not Amazon. My custom iPod is an island of simplicity in a world that’s more chaotic every day.
Was it worth it?
This kind of project isn’t for everybody. To start with, I spent a bit under $150 for the iFlash board, a new battery, a new cable, and an SD card. I probably could have sourced some of those cheaper, and some of it may have been more expensive because of living in Mexico, but you can get decent DAPs for $150 that work out of the box and don’t require having old hardware lying around. In that sense, this project was absolutely not worth it, but it’s not just about money; it’s about the vibes, too.